
Articles
The complete guide to floor sander rentals
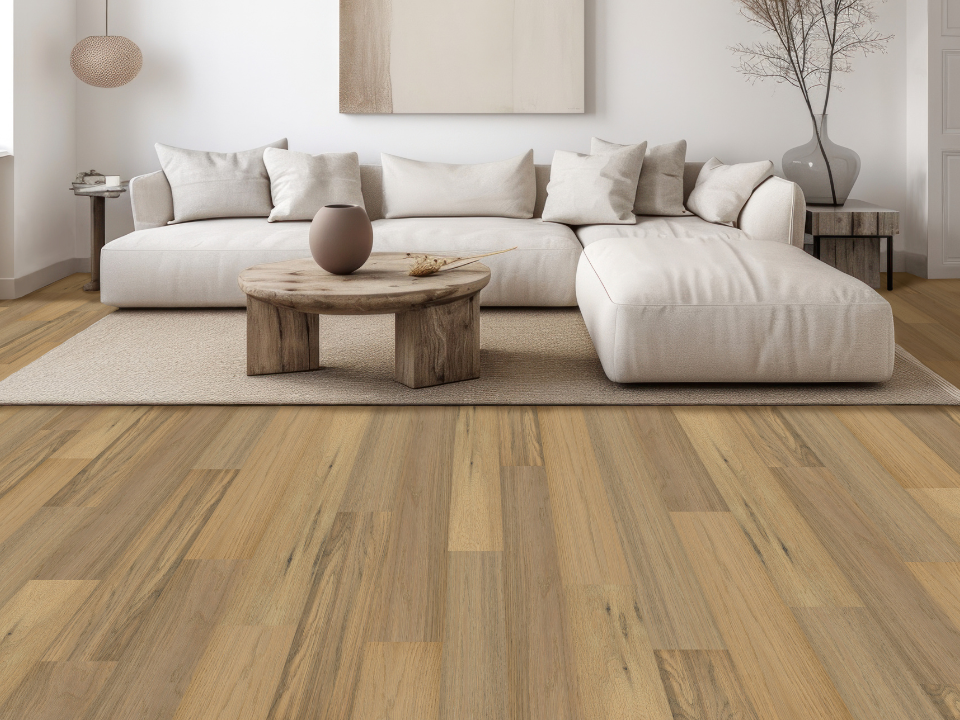
Over time, hardwood floors can lose their lustre and need a little TLC to get back to their original charm. Sanding and refinishing your floors allows you to do just that without the cost of a full replacement.
In this article, we’ll explain how to tackle this project by renting the right professional equipment.
Key takeaways
- Plan for about one day of sanding per medium-sized room.
- Thorough surface prep and using the right sanders will ensure a smooth, professional finish.
- It takes up to 30 days for floor varnish to reach its maximum protection level.

- Evaluating your floor sanding project
How long does it take to sand a floor? Naturally, a DIY duo won't work quite as fast as a professional crew.
The duration depends on the room's layout, the type of old finish being removed, the number of passes required, and the level of wear. You can check your floor’s condition with the "water drop test":
- If the water beads on the surface, a good cleaning, light buffing, and a fresh coat of finish might be all you need.
- If the wood absorbs the liquid immediately, a deep sanding is necessary.
The type of flooring also dictates your approach:
- Solid hardwood floors can generally be sanded and refinished four to seven times.
- Engineered wood floors can only be refinished once or twice, depending on the thickness of the wear layer. Proceed with caution here.
2. Prepping your space and floors
Taking a few precautions before you start will make the job much easier:
- Empty the room completely (furniture, curtains, and rugs). Carefully remove quarter rounds and baseboards using a pry bar.
- Use a hammer and nail set to counter-sink any protruding nail heads. You should be able to slide a putty knife across the floor without it catching.
- Secure any squeaky boards with the proper fasteners, then fill the holes with wood filler.
- Seal off interior doors and vents with plastic wrap to contain the dust.
- Vacuum thoroughly and give the floor a deep clean.
- If the weather is nice, open the windows or an exterior door for better ventilation.
3. How to sand a hardwood floor
Sanding is a multi-stage process that requires a combination of sanding machines:
- While you could technically do the work with a belt sander, we highly recommend renting a professional floor sander instead. This commercial-grade equipment covers a much larger surface area, allowing you to work more efficiently and achieve better results.
- Start with a rough sand using coarse-grit sandpaper (40-grit). Sand in steady, continuous passes, keeping the machine moving and following the direction of the wood grain. Make sure to slightly overlap each section to get an even finish.
- Sand a second time using the same technique with a medium-coarse sandpaper (60-grit). A third and final pass is done with a medium-grit paper (100-grit).
- Replace the sandpaper as soon as it gets clogged or becomes less effective, which often happens after a few hundred square feet. You should also vacuum the floor between each sanding pass.
- Use a floor edger to sand hard-to-reach spots like borders, corners, and the inside of closets. Plan for three successive passes with increasingly finer grits (40, 60, and 100).
- It’s optional, but you can achieve a truly professional finish by renting a floor buffer. This final sanding step helps level out the surface and smooth over any marks left by the previous steps.
4. Cleaning, staining, and finishing the wood
Once the sanding is complete, vacuum every inch to remove dust. We also recommend wiping the floor with a slightly damp microfiber cloth or a tack cloth to ensure the surface is pristine.
Now for the finishing touches:
- If you want a new look, apply a floor stain using a foam pad. Work in small sections and wipe off any excess. Let it dry completely based on the manufacturer’s guide.
- Apply an indoor finish. We recommend water-based products; they dry faster, have less odour, and won't yellow over time like oil-based finishes. Plan for two to four coats for maximum durability.
- Even if the floor feels dry, it takes 30 days to fully cure. Avoid walking on it for at least 24 hours. Wait at least three days—ideally seven—before moving furniture back in, and never drag heavy items across the new finish.
Bringing back the charm of your hardwood floors
Sanding and refinishing takes time and precision, but the result can completely transform your home.
Whether you want to DIY or prefer to use our professional floor refinishing service, we’re here to help. Visit your local Déco Surfaces retailer or contact our team to get started.
You might also like
- Fix Wood Floor Discolouration
- Elevate your home value Instantly with these floors
- All about exotic wood floors
